This project was envisioned as a final project done to graduate from the Master's Degree in Visual Effects at the Savannah College of Art and Design.
The idea was to create a full-CG environment and make it as photoreal as possible in the time that I had.
The idea was to create a full-CG environment and make it as photoreal as possible in the time that I had.
Breakdown (Caution: Lot of Information beyond this point )
Pre-Production:
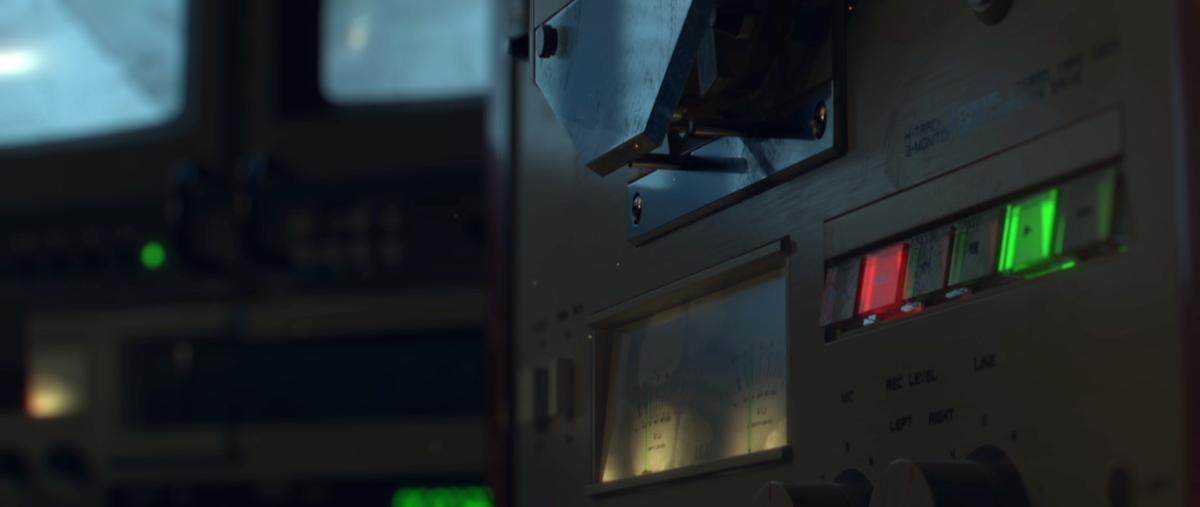
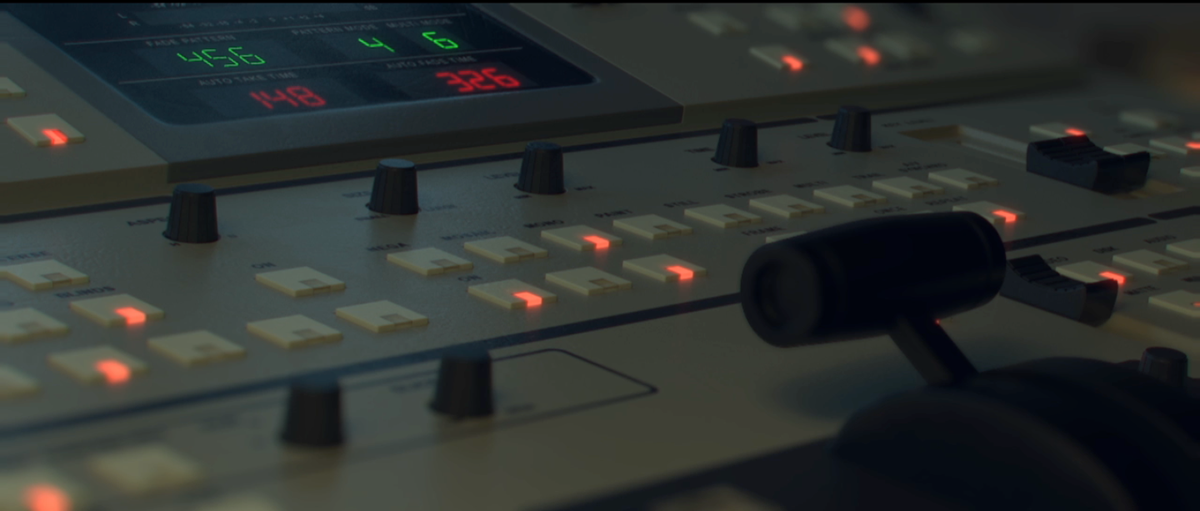
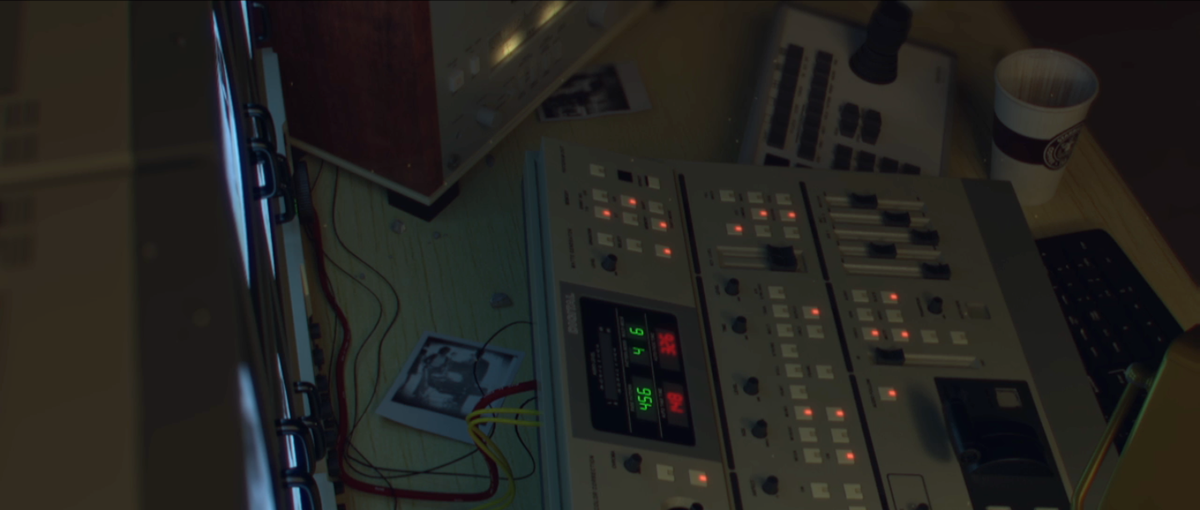
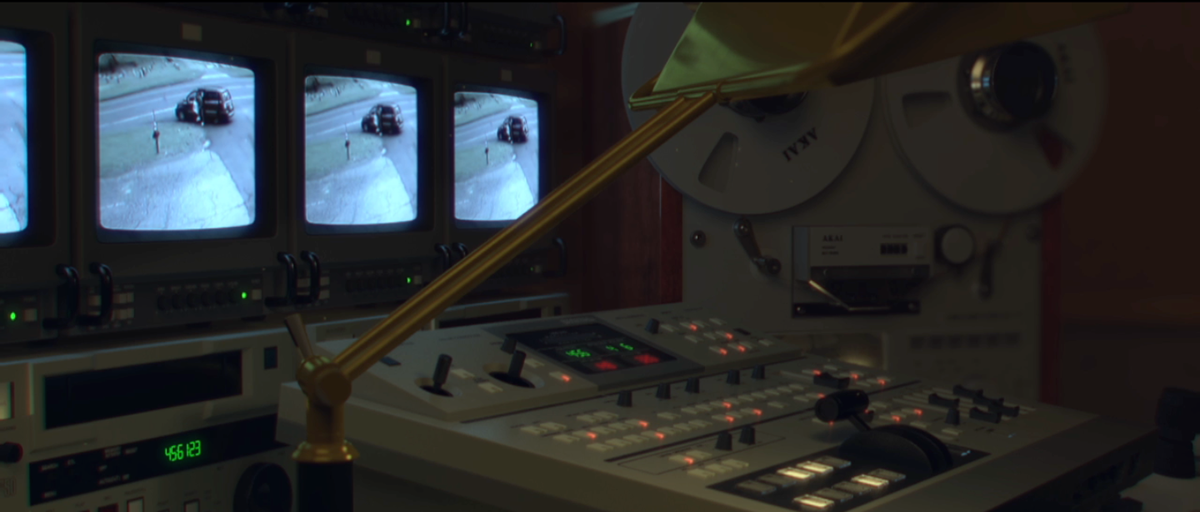
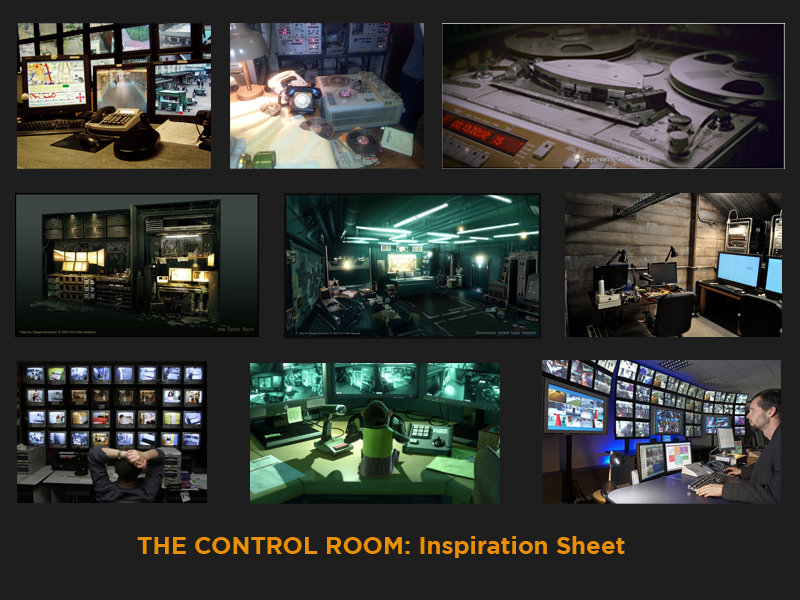
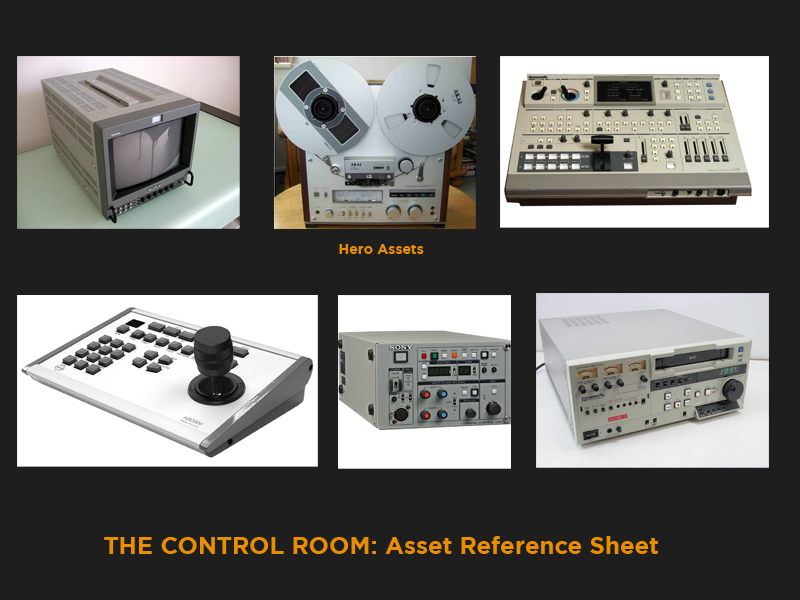
The first thing was to gather references for what the look would be like, the mood and the elements in the room would be. These are some examples of the references I used in the early stages of production.
Pre-Production:
The first thing was to gather references for what the look would be like, the mood and the elements in the room would be. These are some examples of the references I used in the early stages of production.
Pre-viz and early tests:
The first thing I did was to start doing some rough modeling of the scene and start getting some camera angles worked out. Even some lighting tests were done with V-Ray at that stage as I wanted to see quickly the potential that this project could have.
The first thing I did was to start doing some rough modeling of the scene and start getting some camera angles worked out. Even some lighting tests were done with V-Ray at that stage as I wanted to see quickly the potential that this project could have.


Early lighting tests. Some proxy geo and some WIP assets. Rendered in V-Ray and composited in NukeX
Modeling Stage:
My modeling skills are very basic, so it was quite a challenge having to model so many assets. I tried to get as many references as I could and try to put all my small knowledge and dedication into the models. I knew from the start that I would want to get pretty close to the models, so I knew that they were going to have to have a lot of details. Once the first fears of having a lot of geometry went away I embraced this fact and focused on making models that looked as similar as I could to my references baring in mind that I have no intention to be a modeler.
My modeling skills are very basic, so it was quite a challenge having to model so many assets. I tried to get as many references as I could and try to put all my small knowledge and dedication into the models. I knew from the start that I would want to get pretty close to the models, so I knew that they were going to have to have a lot of details. Once the first fears of having a lot of geometry went away I embraced this fact and focused on making models that looked as similar as I could to my references baring in mind that I have no intention to be a modeler.
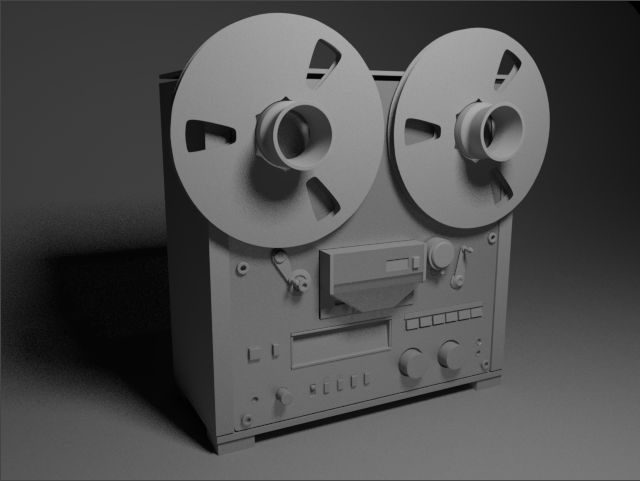
Early Iterations of the Akai Gx-620 Model, one of the hero assets.
R&D:
As the idea of the unviability of using V-Ray as my main rendering engine sunk in I decided that I would look into taking a look at the new developments done with Mental Ray. I stepped out of my comfort zone and set out to discover a new approach. After some reasearch I had it: Unified Sampling.
This new sampling algorithm developed in the new versions of mental ray seemed to have answered all of my prayers. As I started doing my first look-dev tests, I was amazed at the speed and quality that I was getting. And as it turns out Unified Sampling really has changed my vision on Mental Ray in these last few months for the better.
Look dev:
Here is where the fun really started. After the tediousness of finishing up the models and having to UV every single little knob and button of every asset I was prepared to start playing with shaders. The goal once again was to get everything as photo-real as possible. I quickly decided that I was going to use a workflow that I thought would speed things up and be very efficient.
Here is where the fun really started. After the tediousness of finishing up the models and having to UV every single little knob and button of every asset I was prepared to start playing with shaders. The goal once again was to get everything as photo-real as possible. I quickly decided that I was going to use a workflow that I thought would speed things up and be very efficient.
Akai GX-620 in early stages of Look Dev.
I decided I was going to use as less shaders per asset as I could. In the end I used 1 Shader per Asset (with the exception of the Akai Reel-to-Reel due to laziness). This process has some pros and cons that I will explain:
Pros:
· Tidy scenes
· Material properties controlled by textures
· A lot less texture maps
· Easy Render engine cross-over
· In Mental Ray for Maya: no shader layering means speeding up renders
Cons:
· Plan ahead and understand how materials work
· Tweaks are more tedious
Pros:
· Tidy scenes
· Material properties controlled by textures
· A lot less texture maps
· Easy Render engine cross-over
· In Mental Ray for Maya: no shader layering means speeding up renders
Cons:
· Plan ahead and understand how materials work
· Tweaks are more tedious
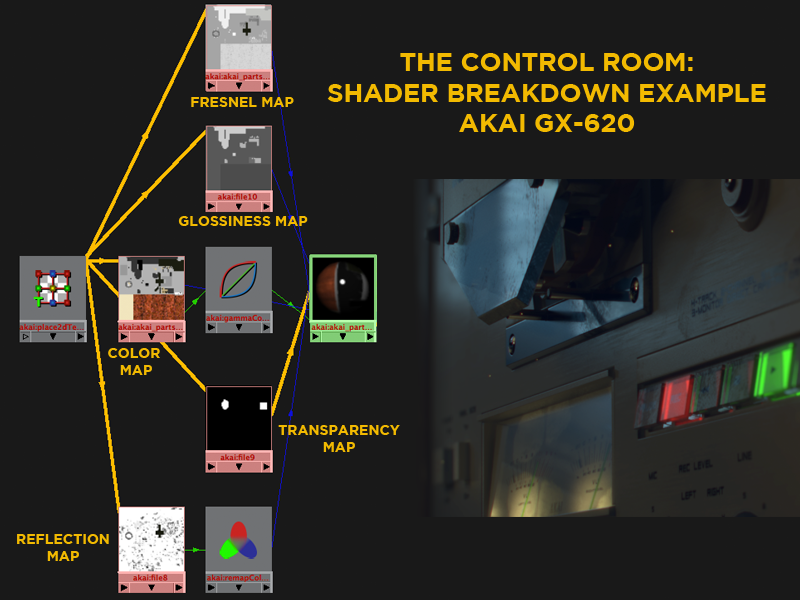
Example of the workflow One Shader Per Asset used. One only shader is enough to create all the different materials of a particular asset. Ranging from plastic and wood to chrome.
Lighting & Rendering Stage:
This was a crucial stage. This is what I started this project for, so I could light a full CG scene and make it as photo-real as I could. I knew I wanted to use a custom workflow that involved using a tool that I’m currently developing. The Light Contribution Management Tool (LCMT). This tool allows to quickly organize lights, isolate their contribution in the lighting stage (to easily preview what any light or group of lights is doing). It also helps in the creation of automatic render layers that split the lighting contribution so that later in Nuke I could have as much control as I wanted.
This was a crucial stage. This is what I started this project for, so I could light a full CG scene and make it as photo-real as I could. I knew I wanted to use a custom workflow that involved using a tool that I’m currently developing. The Light Contribution Management Tool (LCMT). This tool allows to quickly organize lights, isolate their contribution in the lighting stage (to easily preview what any light or group of lights is doing). It also helps in the creation of automatic render layers that split the lighting contribution so that later in Nuke I could have as much control as I wanted.
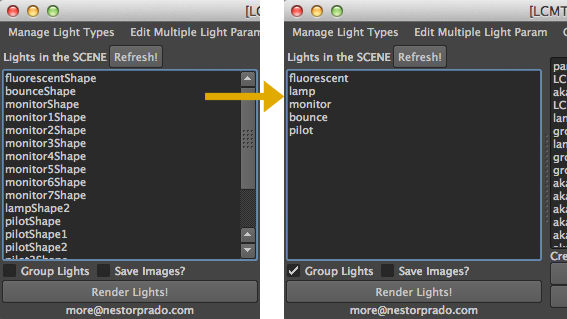
Example of LCMT in the scene. Managing a lots becomes really easy with the "Group Lights" feature. It can also create render layers with each of these groups for later compositing.
Compositing Stage:
In nuke I did a little gizmo that completed the workflow. It took the different light contributions and mixed them together in one node that allowed me to change the intensity and color of any light, without having to re-render anything. This was very convenient in early tests to rapidly establish the final look of the environment.
In nuke I did a little gizmo that completed the workflow. It took the different light contributions and mixed them together in one node that allowed me to change the intensity and color of any light, without having to re-render anything. This was very convenient in early tests to rapidly establish the final look of the environment.
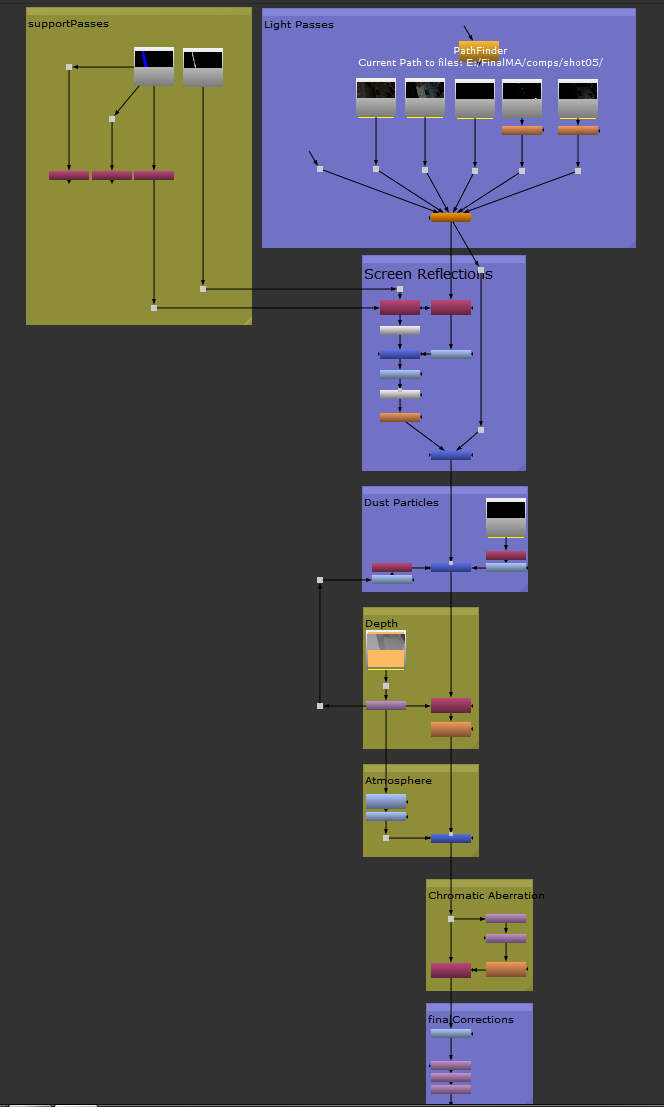
Final Comp tree in nuke.
After getting a first shot (that is not in the final project) done I had set up the whole pipeline that would allow me to easily create any other shot that I wanted with the least amount of tweakage. It was the a matter of choosing the camera angle, rendering and reloading the renders.
Further information:
Unified Sampling: http://tmblr.co/Z7hwFyUZ8FWo
Layer Manager Gizmo: http://tmblr.co/Z7hwFyMm-qNs
Light Contribution Management Tool:
· Explanation: http://tmblr.co/Z7hwFyU5MrvA
· Download: http://github.com/nestorprado/light-contribution-management-tool
And you can always find more @ nestorprado.com

