
One Day Projects
Bike Helmet - 4 hours
All the visuals for this project were designed and built using Gravity Sketch VR in under 8 hours. VR allows for the entire design process to happen in one sitting. You can import reference images or data, sketch, surface and test ergonomics. After the design direction is nailed down you can take screenshots or export the data to other software and rendering programs.
For the full video process check out the YouTube video in the link below.
https://www.youtube.com/watch?v=wjMpH2ebHPI&t=1s&ab_channel=GravitySketch

Inspiration
First I start like any other project, collecting inspiration images to set tone. Gravity Sketch lets me drag the images into the VR space as reference. Its a useful feature and makes me feel like I'm in school again with a giant board to pin everything on while I sketch. If you prefer to start with a sketch made in photoshop or pen those too can be brought in as reference.

Loose Sketching
First I start with some loose sketching with the ink tool, Its super simple and intuitive just press the pointer finger trigger and your sketching. For a project like this that I want to be at real scale I'll usually opt to sketch around one of the built in reference objects, in this case its a 1 to 1 head.

Clean Line Sketch
After I have a semi flushed out design theme its time to move to a clean line drawing. For this the Stroke Tool is best, cool thing about both of these sketching tools is they export sketch lines as curves. If you use Alias, Catia, Rhino or any other nurb based program in your workflow this comes in handy.

Surfacing
With a clean drawing its time to move to surfacing. Gravity Sketch is a bit odd when it comes to surfacing because its both nurb and Subdimensional based and allows you to switch from nurb to SubD at any time. This actually offers a quick way of surfacing, I start to surface easy things with nurbs and then convert those surfaces to SubD and connect everything with the flexibility of SubD. I absolutely love this flexibility, it takes the stress out of figuring out how to surface a sketch and lets you easily connect the dots and improvise when things get tricky.
For the glass effect I just place the lenses on a separate layer and boost the opacity.
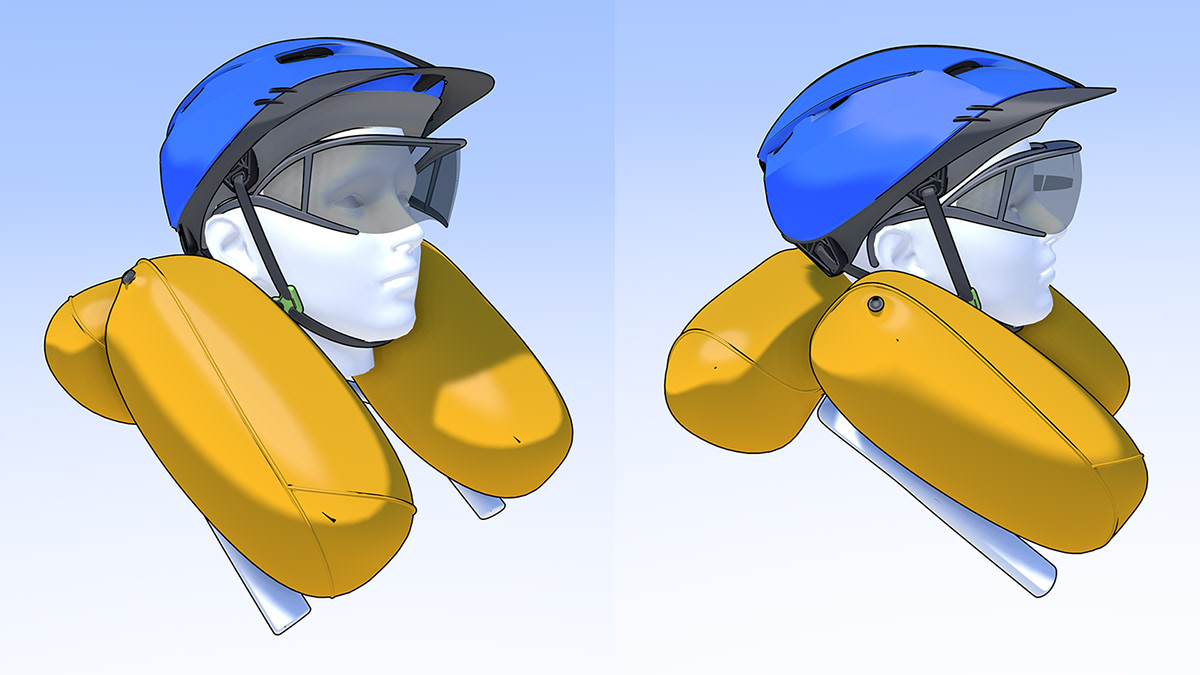


Color Variation
Once you have your model its a matter of seconds to duplicate it out and swap colors and materials. Not only can you find what looks best but it makes showing variations for clients and team members easy, these two additional colorways took about 5 minutes total.


Notes & Annotations
At any part of the process you can illustrate functionality or make notes with sketching and text tools. I have to admit, as an industrial designer this part of the process is more fun then most would think. With Co-Creation you can hop into the same VR space with colleagues or clients and review, collaborate and market things up.


So by now I have about 4.5 hours invested into the designing and modeling and of this helmet. I've exported it form Gravity Sketch and brought it into KeyShot for a quick material and render test. This is super helpful because it highlights some things you might not notice in GS. For instance the face guard not not connecting to the helmet is bugging me so now I'll hop back into GS and dive deeper on details.


